
Damaged drywall is one of the most common repairs in Vancouver homes — a doorknob punched through the wall, a long gash from moving furniture, or an old access hole that was never finished properly. The good news: knowing how to repair a wall properly is straightforward when you follow the same professional method contractors use.
In this guide, we walk you through every step of a real drywall repair we completed in a Vancouver home, with photos of each stage — from the damaged wall to the invisible final finish.
Step 1: Assess the Damage
Before you touch anything, look closely at the damage. Is it a small dent, a clean hole, or a long tear with loose drywall paper?
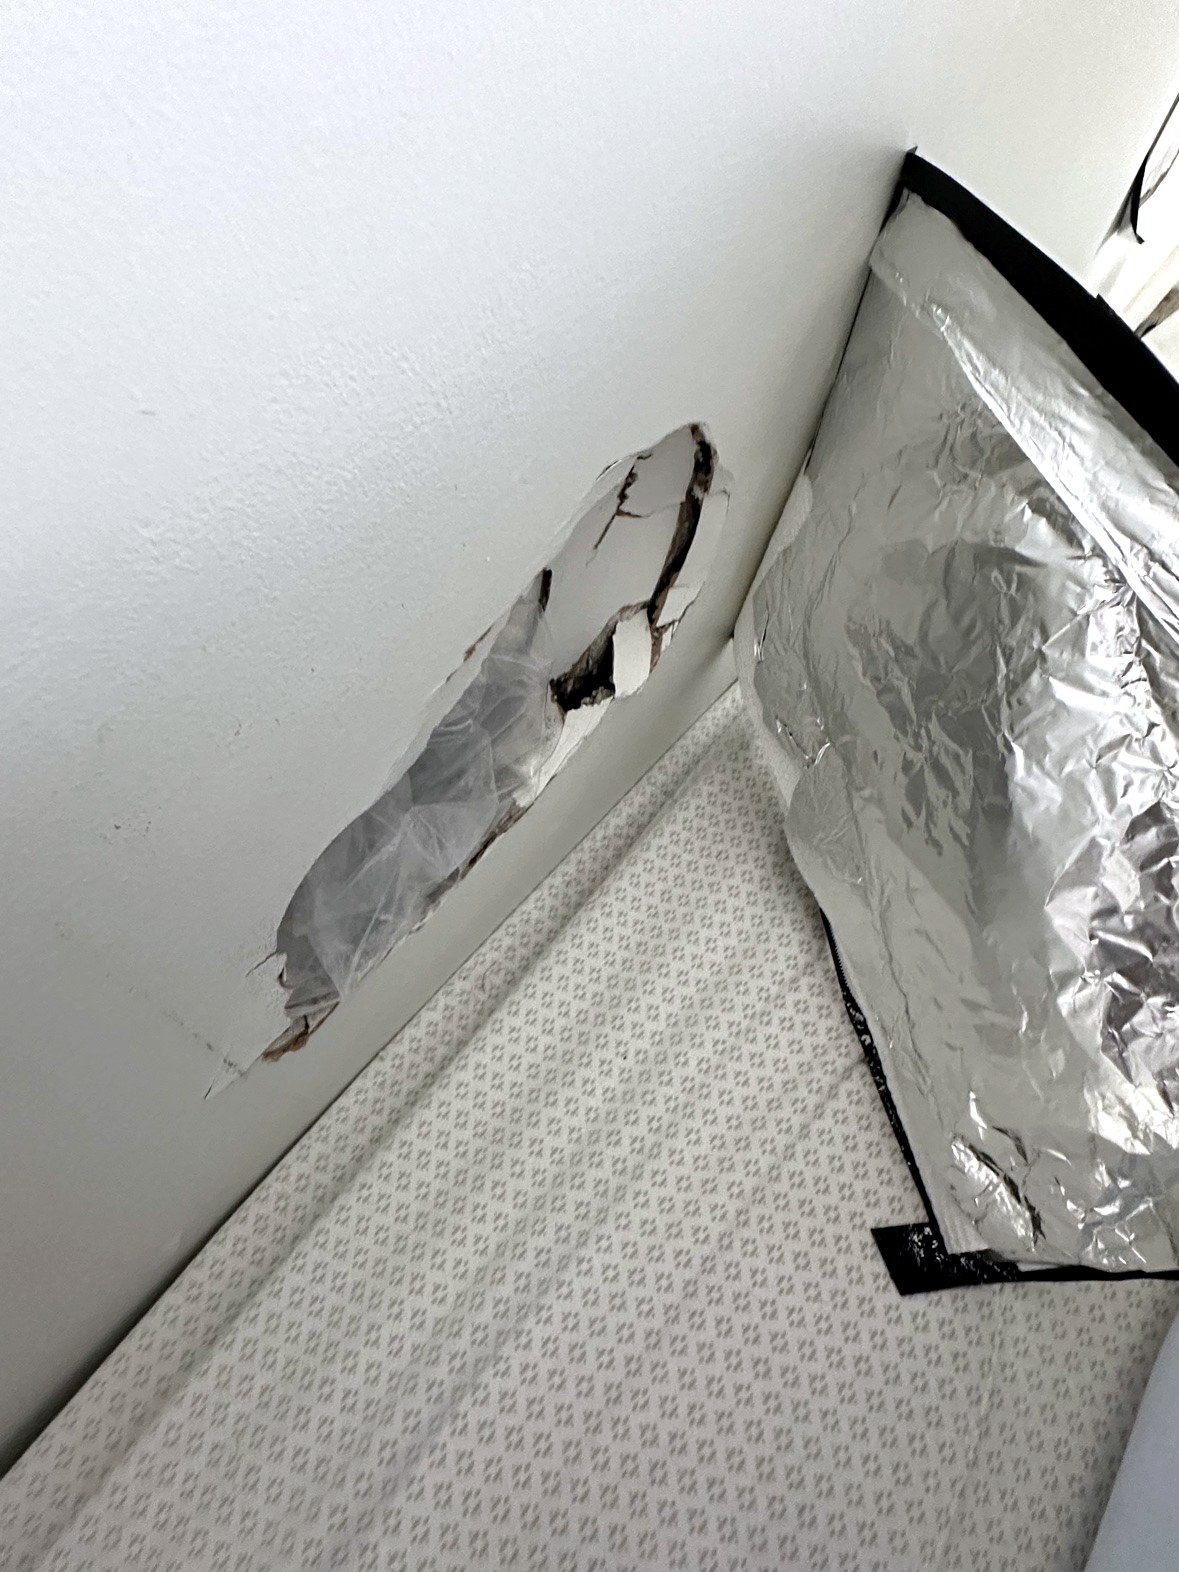
In our project, the wall had two problems: a long gash near the baseboard where the drywall face was torn open, and a separate punched hole further along the wall.
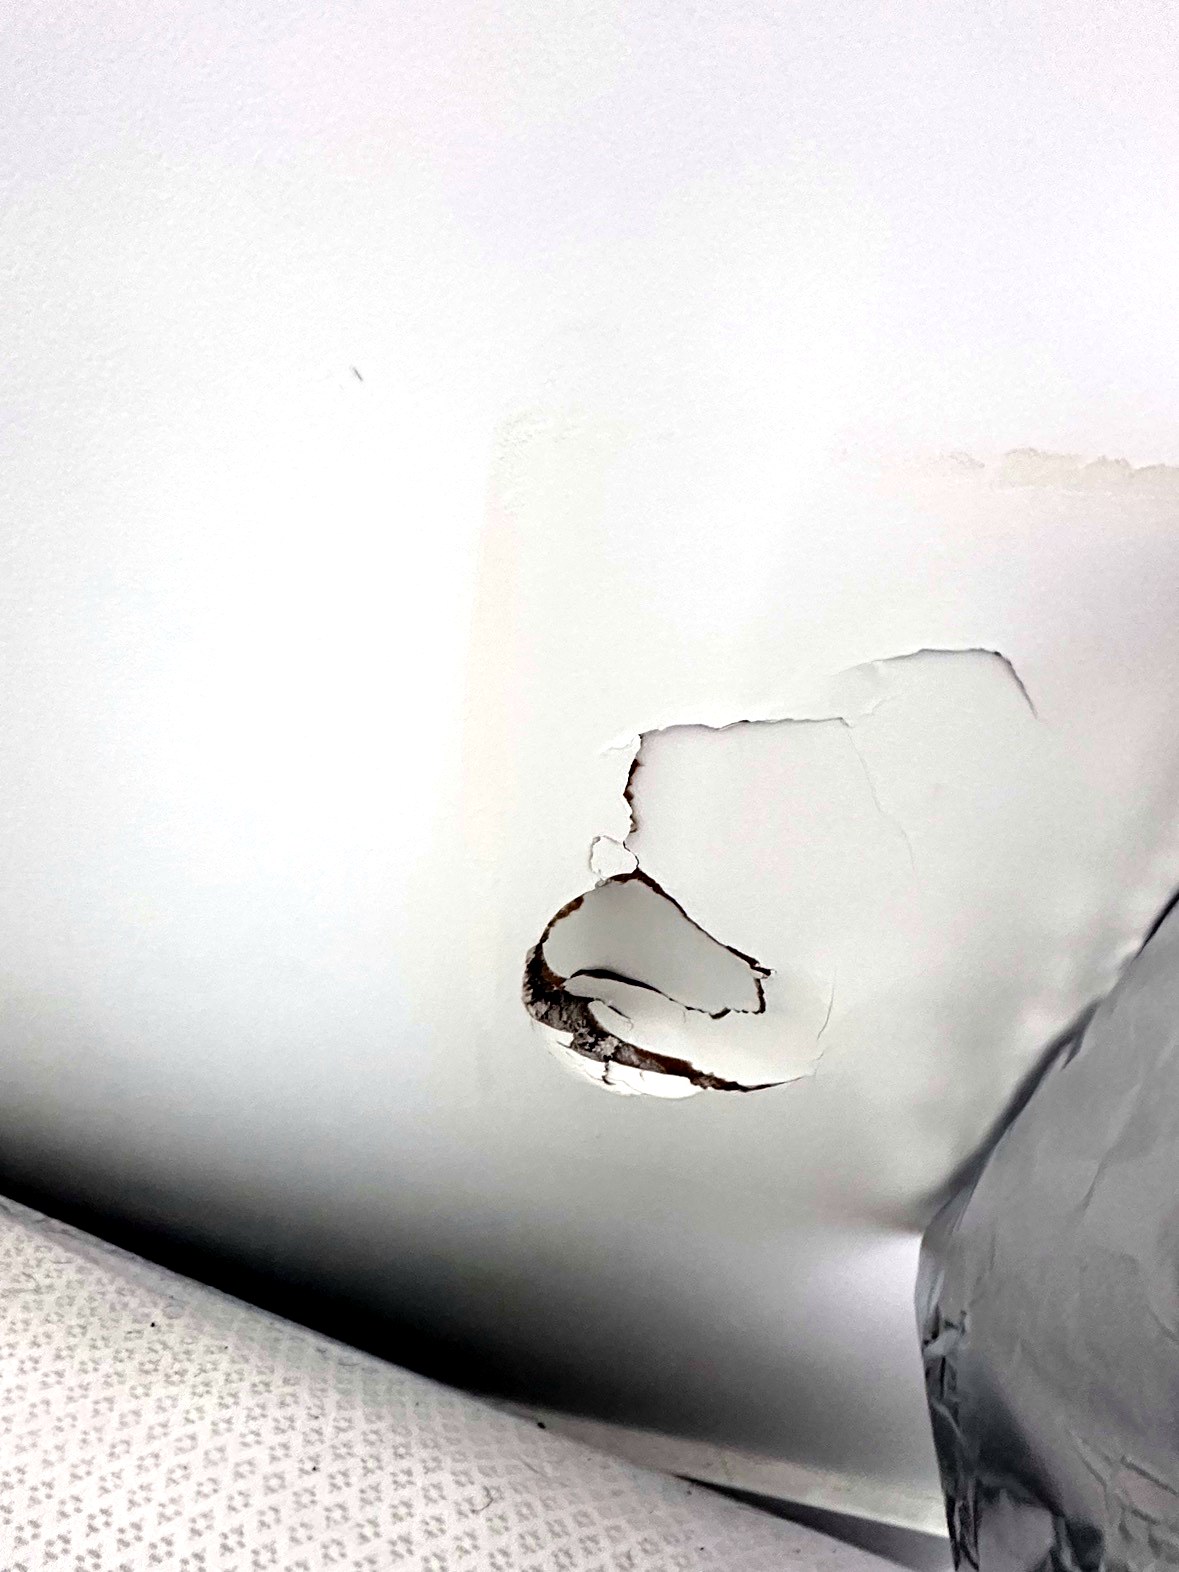
Small dents and nail holes can be filled directly with spackling. But torn or crushed drywall like this needs to be cut out and patched — filling over loose, broken drywall will crack again within months.
Step 2: Cut the Damage Into Clean Rectangles
Using a drywall saw or utility knife, cut the damaged area into a neat rectangle, extending a few centimetres past the damage on every side. Straight edges are far easier to patch than jagged tears.
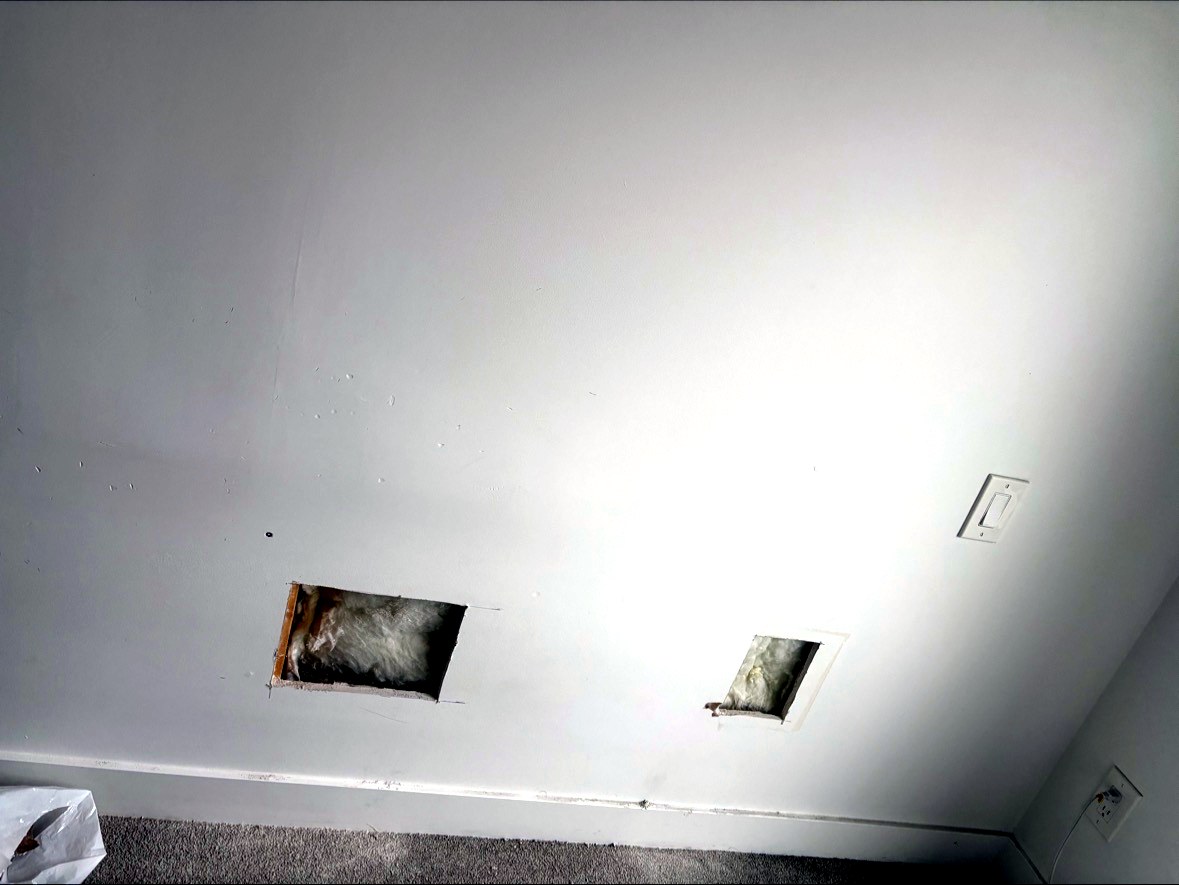
Pro tip: Before cutting, check for electrical wires, plumbing, or studs behind the wall. In this home the wall contained insulation, which we carefully worked around.
Step 3: Add Wood Backing Behind the Opening
A drywall patch needs something solid to screw into. We fasten short wood backing strips (furring strips) inside the opening, screwed through the existing drywall on either side. This gives the new patch full support along every edge.
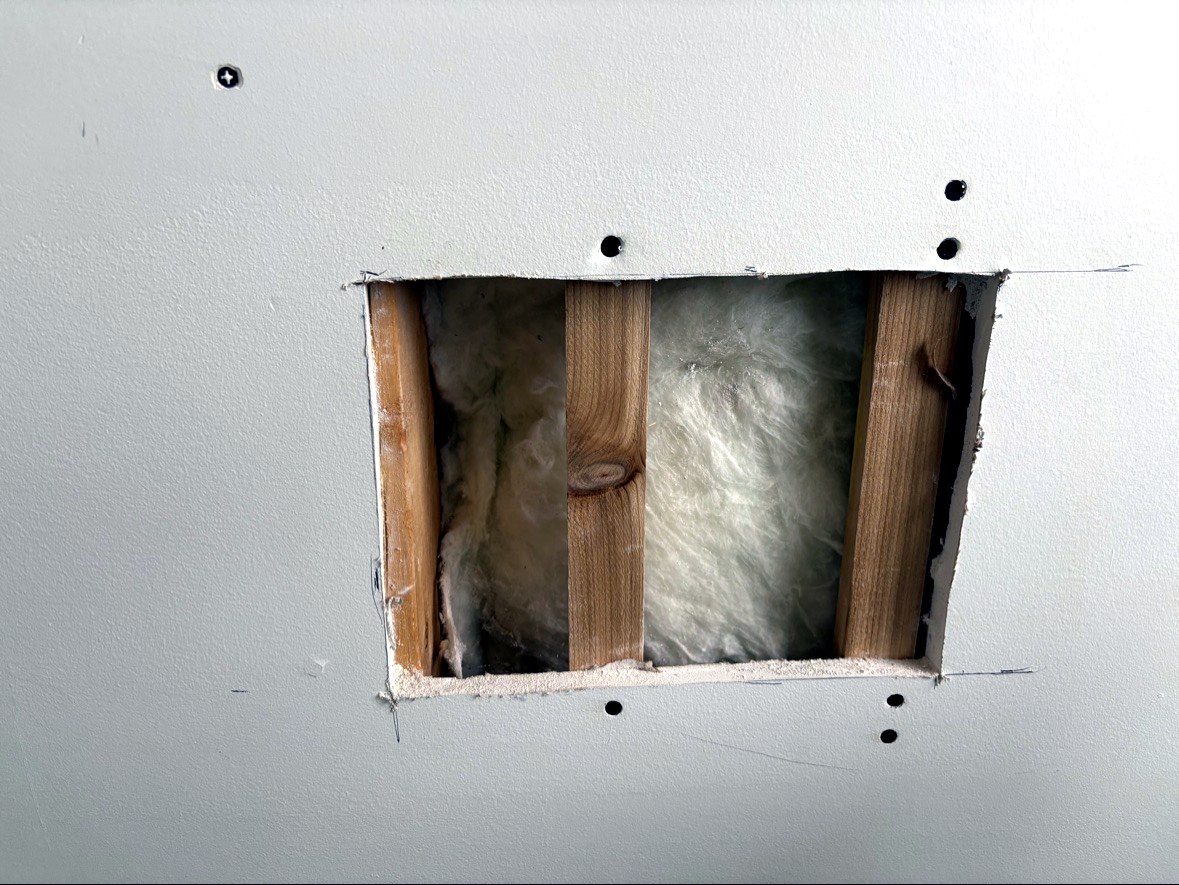
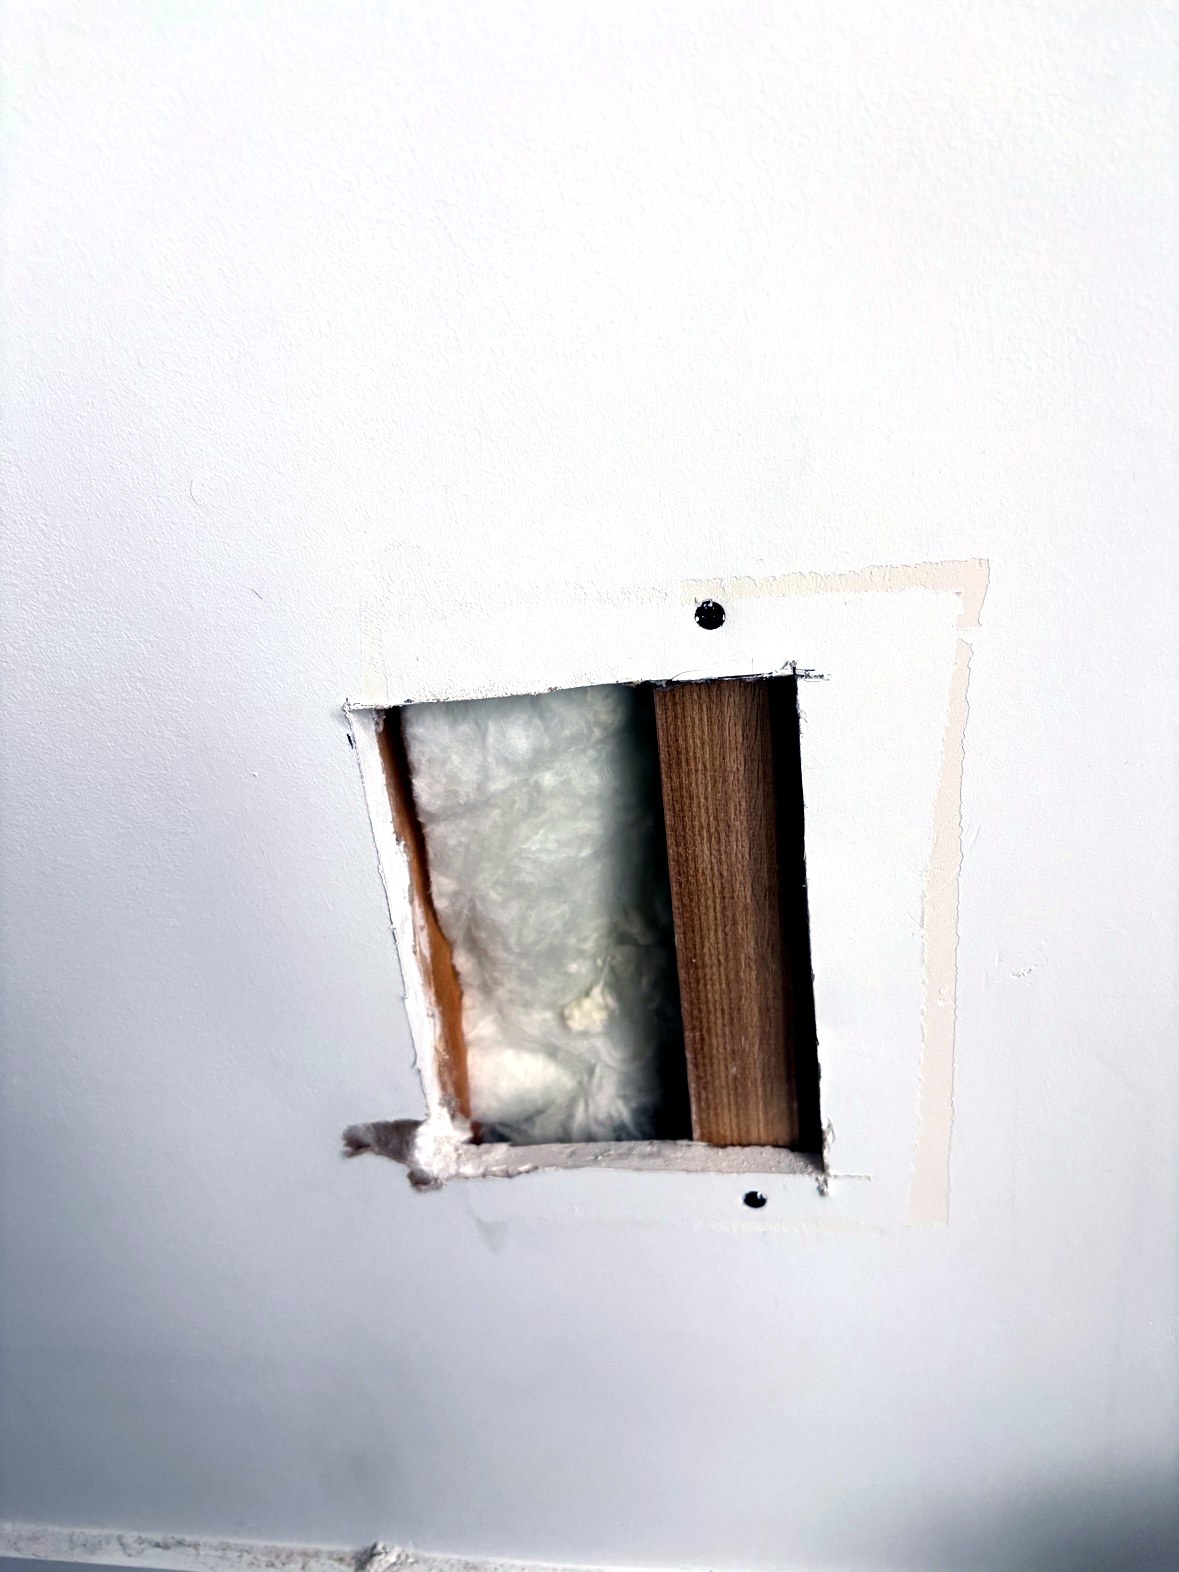
This is the step most DIY repairs skip — and the reason so many patches eventually sag or crack. Never rely on joint compound alone to hold a patch.
Step 4: Cut and Fit the Drywall Patch
Measure the opening and cut a piece of drywall to fit snugly — about 3 mm smaller than the opening on each side. Test-fit it before fastening.
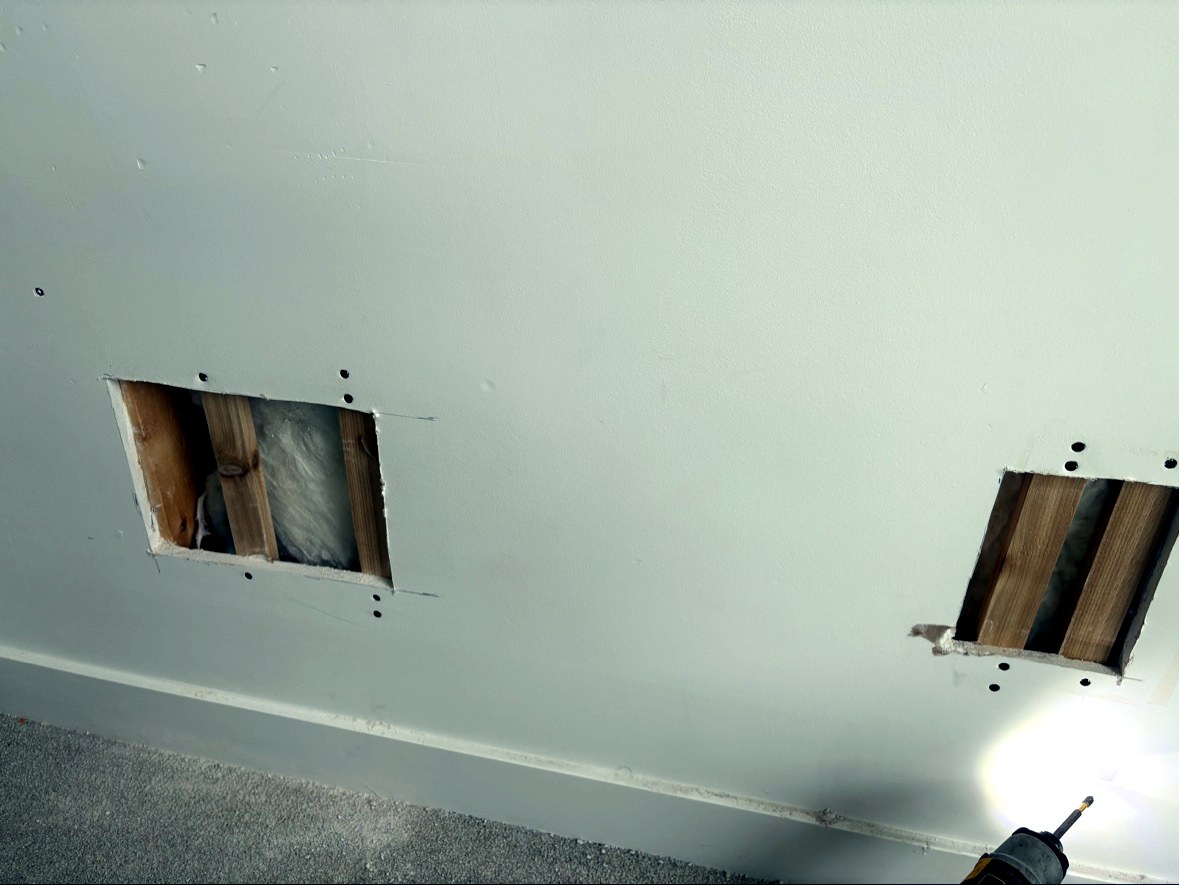
Use the same thickness as the existing wall (usually 1/2 inch in Vancouver homes) so the patch sits flush with the surrounding surface.
Step 5: Screw the Patch Into Place
Fasten the patch to the wood backing with drywall screws, spacing them about 20 cm apart around the edges. Drive each screw just below the paper surface — deep enough to dimple slightly, but not so deep that you tear the paper.
Step 6: Fill Small Holes and Cracks
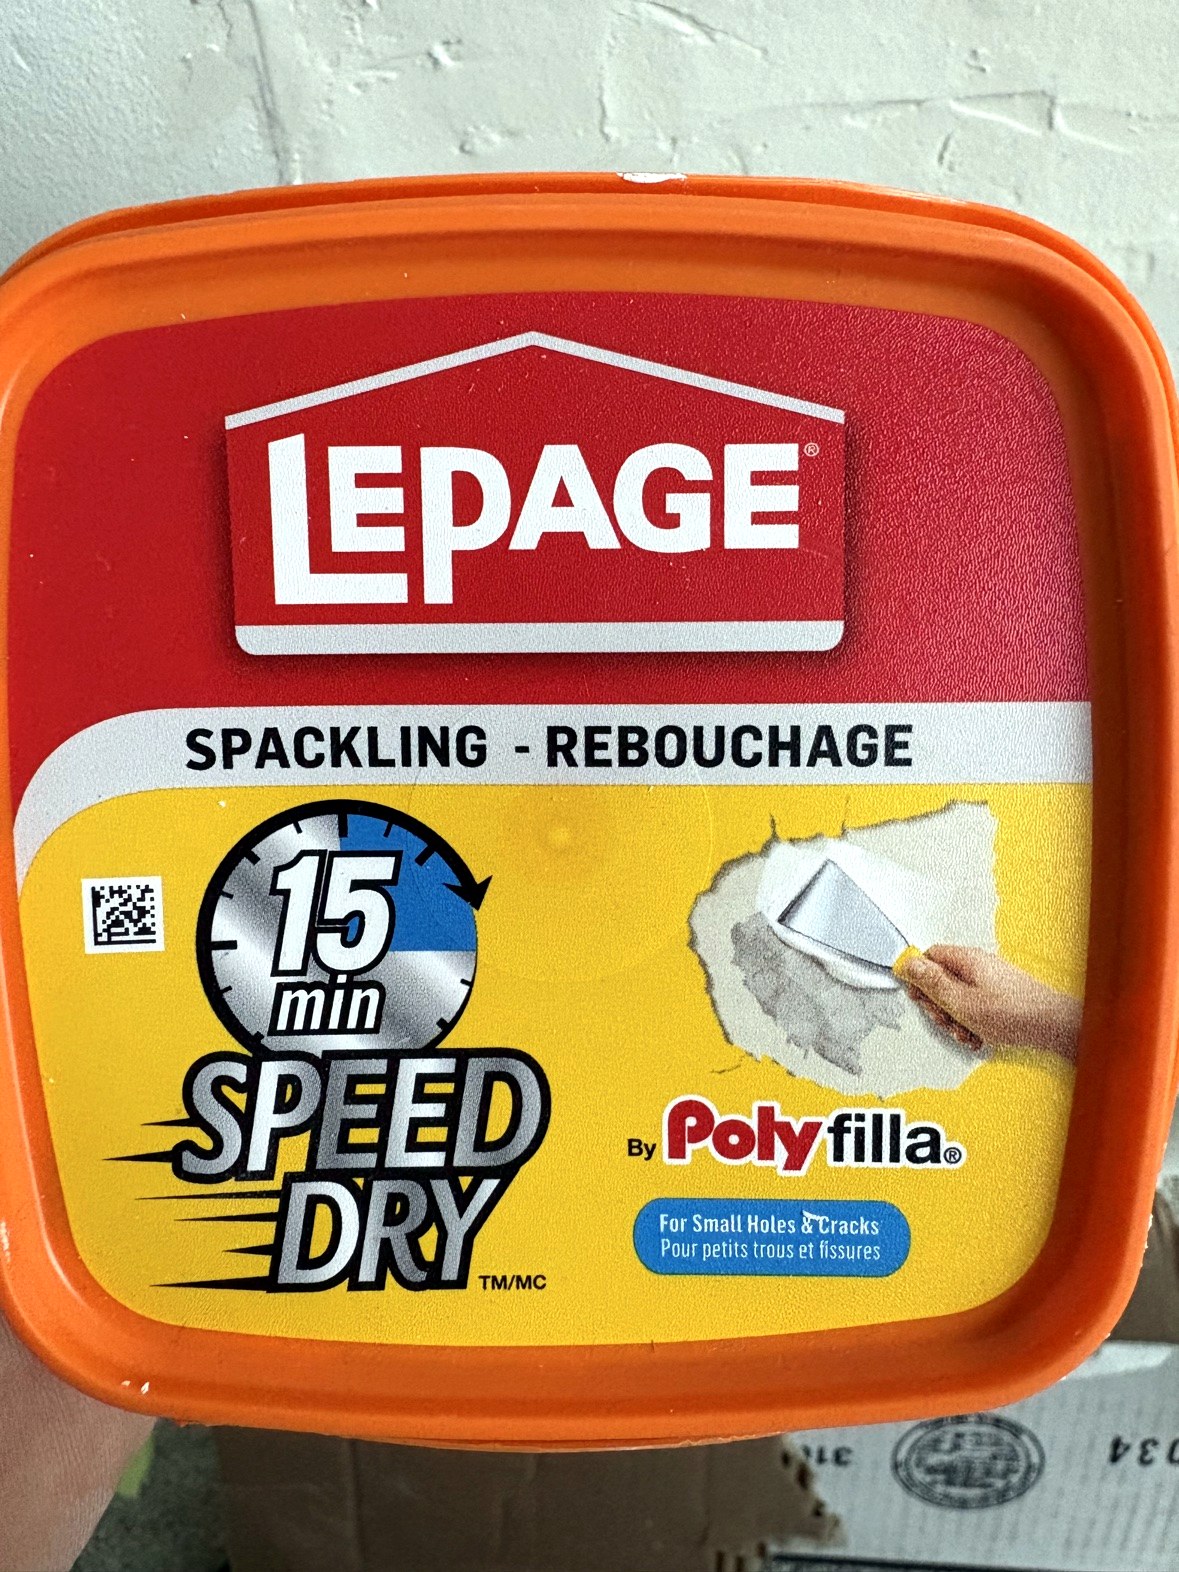
For the screw heads, small dents, and hairline cracks, apply a quality spackling compound. We use a fast-drying product like LePage Polyfilla Speed Dry, which is ready to sand in about 15 minutes — ideal for small repairs.
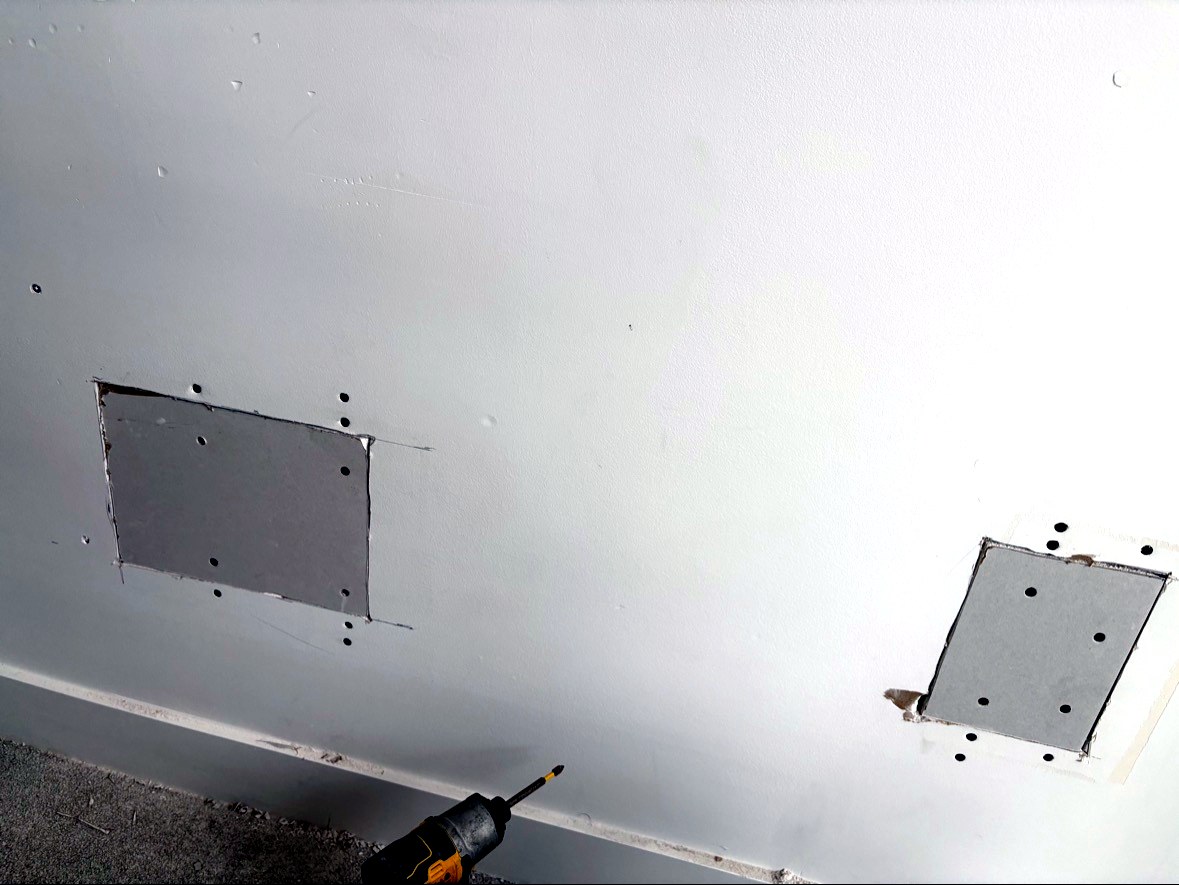
Press the compound firmly into each hole with a putty knife, then scrape it flush with the wall. Two thin coats always beat one thick coat.
Step 7: Tape and Apply Joint Compound (Mudding)
Cover the seams around the patch with fibreglass mesh tape or paper drywall tape, then spread joint compound over the tape with a 15 cm taping knife, feathering the edges out onto the surrounding wall. Let it dry completely, then apply a second — and usually a third — wider coat, feathering further out each time.
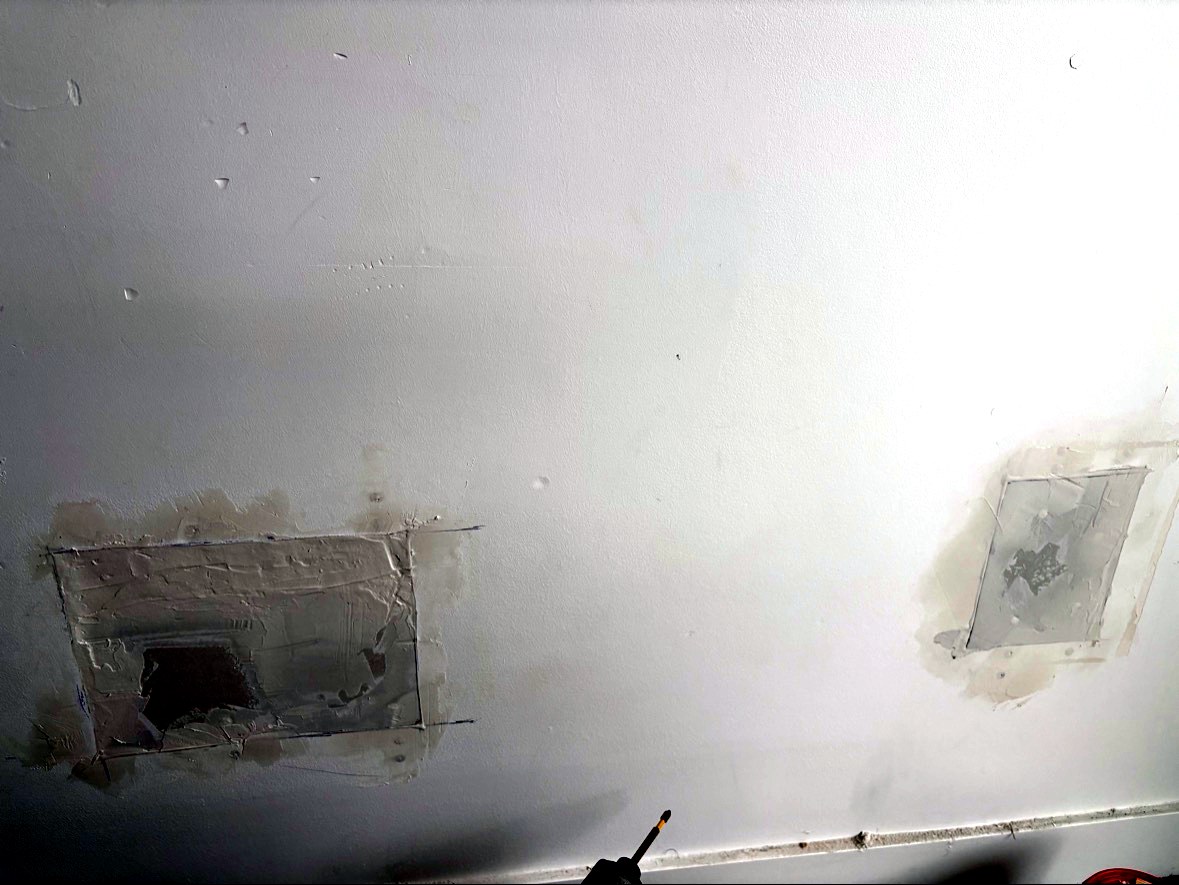
Pro tip: Each coat should be thinner and wider than the last. This gradual build-up is what makes the repair disappear instead of showing as a visible bump.
Step 8: Sand, Prime and Paint
Once the final coat is dry, sand the area smooth with 120-grit sandpaper, working lightly to avoid scuffing the surrounding paint. Wipe away the dust, apply a coat of primer (joint compound absorbs paint differently than drywall paper), then paint to match.
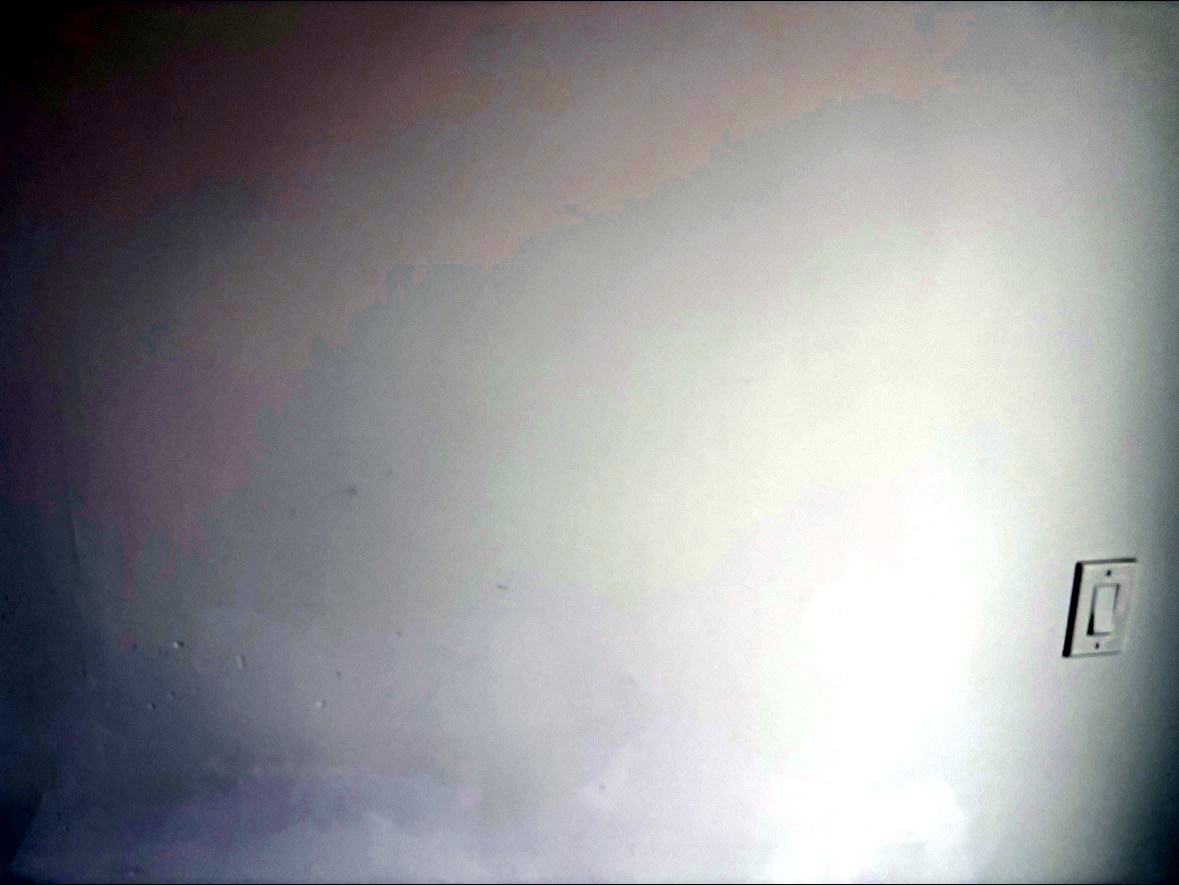
The result: a wall that looks like it was never damaged.
How Long Does It Take to Repair a Wall?
A professional can complete a standard patch repair like this in a few hours of work spread over two days (to allow drying time between coats). Fast-drying compounds speed things up, but rushing the drying stage is the most common cause of failed repairs.
When Should You Call a Professional?
Call a drywall repair contractor in Vancouver when:
- The damage is larger than about 30 cm across
- There may be water damage or mould behind the wall
- The wall has a textured finish that needs to be matched
- You need the repair to be truly invisible (for example, before selling your home)
Drywall and Wall Repair in Vancouver, BC
At Craft Master Luxe Construction, we repair damaged walls, ceilings, and drywall throughout Vancouver and surrounding cities — from small patch jobs to full room refinishing. Every repair is taped, mudded, sanded, and finished to disappear completely.
Get a free estimate: call (778) 855-6606 or contact us today.